Renault Koleos Service Repair Manual: Front side door electric window mechanism: Removal - Refitting
Renault Koleos Service Repair Manual / Mechanisms and accessories / Side opening element mechanisms / Front side door electric
window mechanism:
Removal - Refitting
REMOVAL I - REMOVAL PREPARATION OPERATION
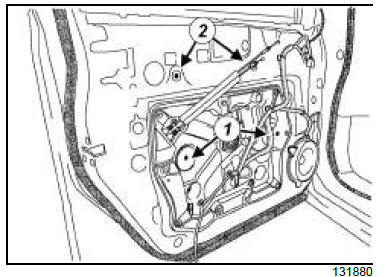
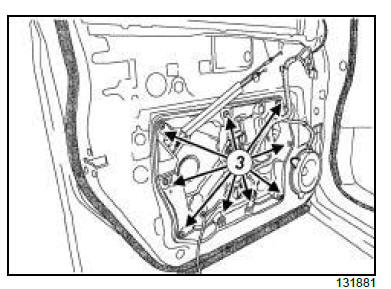
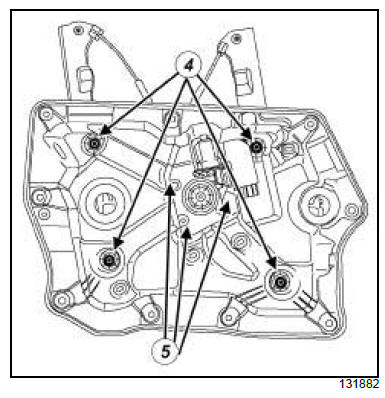
II - OPERATION FOR REMOVAL OF PART CONCERNED
REFITTING I - REFITTING OPERATION FOR PART CONCERNED
II - FINAL OPERATION
|
See More:
Renault Koleos Service Repair Manual > Heating: Rear air distribution duct:
Removal - Refitting
REMOVAL I - REMOVAL PREPARATION OPERATION 1 - Rear left-hand air distribution duct Remove: the central console (see Centre console: Removal - Refitting) (57A, Interior equipment), the driver's seat (see Complete front seat: Removal - Refitting) (75A, Front seat frames and seat runners), the floor ca ...
Renault Koleos Owners Manual
- Getting to know your vehicle
- Driving
- Your comfort
- Maintenance
- Practical advice
- Technical specifications
Renault Koleos Service Repair Manual
© 2018-2026 Copyright www.rkoleos.com
0.0096


