| IMPORTANT
To prevent the pyrotechnic components from being
permanently deactivated or triggered (airbags or pretensioners), wait for at least 3 minutes after disconnecting
the battery. |
| IMPORTANT
Never handle the pyrotechnic systems (pretensioners
or airbags) near to a source of heat or naked
flame - they may be triggered. |
REMOVAL
I - REMOVAL PREPARATION OPERATION
- Disconnect the battery (see Battery: Removal - Refitting)
(80A, Battery).
| Note:
Each time a worn seal is removed, replace it with
a new seal from the refitting kit available from the
parts department. |
- Remove:
- the windscreen pillar trim (see Windscreen pillar
trim: Removal - Refitting) (71A, Body internal
trim),
- the door sill lining (see Front door sill lining: Removal
- Refitting) (71A, Body internal trim).

- Unclip the side cover (2) .
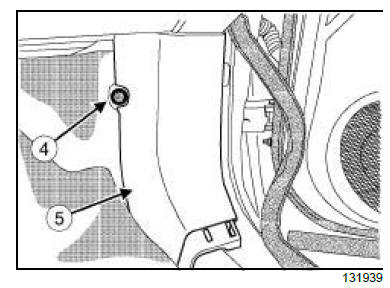
- Remove:
- the bolt (4) ,
- the trim (5) from the cab floor.
- Remove the bonnet release handle.
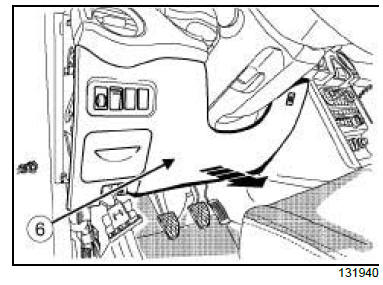
- Remove the lower cover (6) .
- Disconnect the connectors.
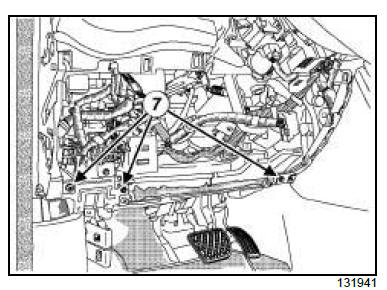
- Remove:
- the bolts (7) ,
- the steering wheel (see Steering wheel: Removal
- Refitting) (36A, Steering assembly).
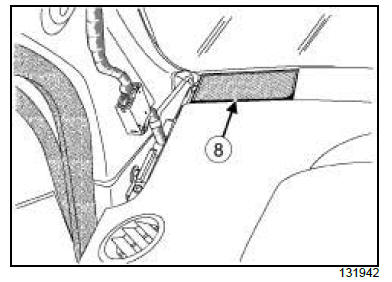
- Remove the cover (8) using the tool (Car. 1597).
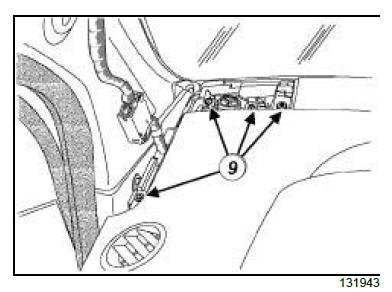
- Remove:
- the bolts (9) ,
- the speaker.
- Disconnect the speaker connector.
- Remove:
- the instrument panel (see Instrument panel: Removal
- Refitting) (83A, Instrument panel),
- the glovebox (see 57A, Interior equipment,
Glovebox: Removal - Refitting, page 57A-14) ,
- the navigation computer (see Navigation computer:
Removal - Refitting) (83C, On-board telematics
system).
| WARNING
To ensure the airbag is not damaged during
removal, do not use a tool with a point or a sharp
edge. |
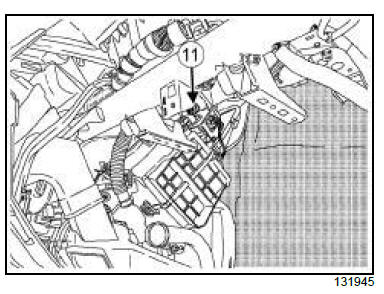
- Remove the airbag bolt (11) .
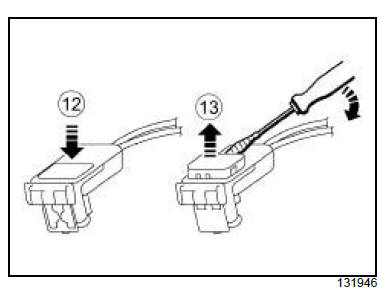
| Note:
To disconnect the airbag connector, insert a thin
flat-blade screwdriver wrapped in adhesive tape
into the notch (12) , lift the safety device (13) and
disconnect the connector. |
- Disconnect the airbag connectors (14) .
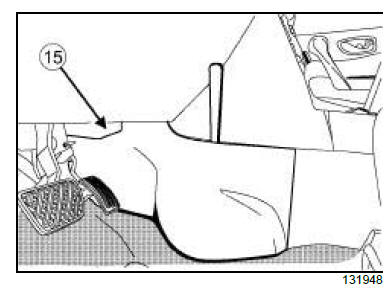
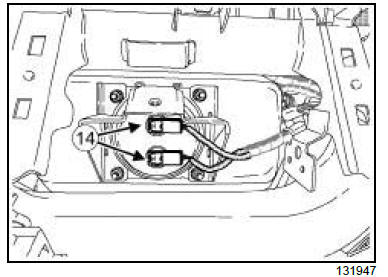
- Remove the lower cover (15) .

- Remove:
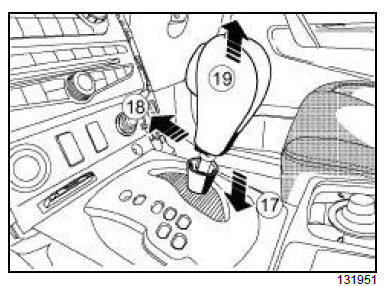
- the gear lever cover (17) ,
- the pin (18) .
- Unclip the gear lever (19) .
- Unclip the gear lever plate (20) .
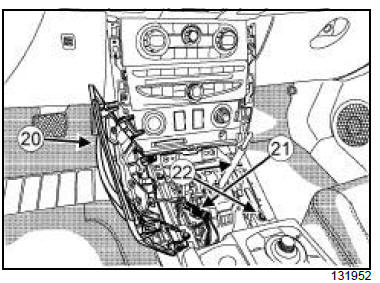
- Disconnect the connector (21) .
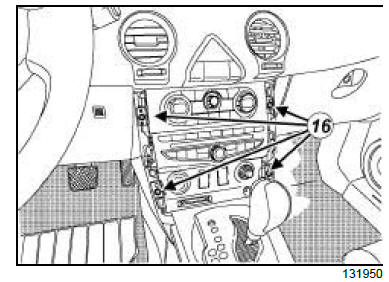
- Remove the bolts (22) .
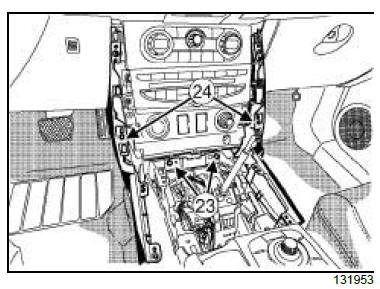
- Remove:
- the bolts (23) ,
- the trim (24) ,
- the radio (see Radio: Removal - Refitting) (86A,
Radio).
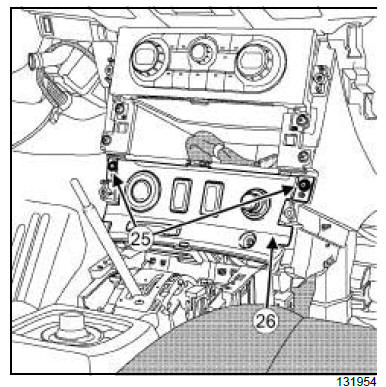
- Remove the bolts (25) .
- Disconnect the power supply connector.
- Remove:
- the control panel (26) ,
- the centre console (see 57A, Interior equipment,
Centre console: Removal - Refitting, page 57A-
15) .
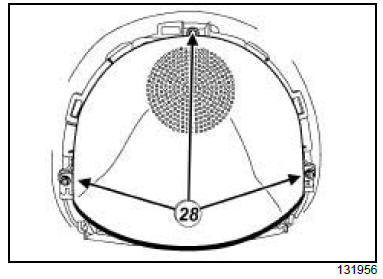
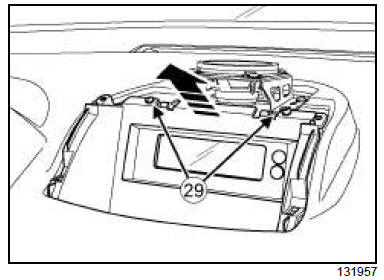
- Remove:
- the bolts (29) ,
- the display.
- Disconnect the power supply connector.
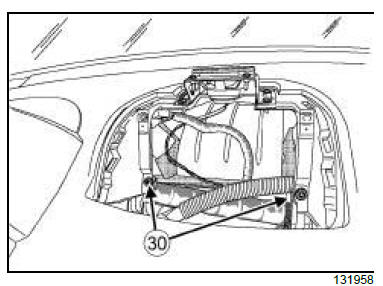
- Remove the bolts (30) .
- Disconnect the speaker connector.
- Remove the bolts (30) .
- Disconnect the speaker connector.
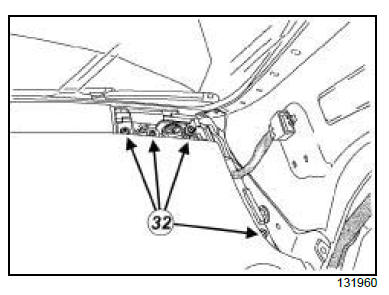
- Remove:
- the bolts (32) ,
- the speaker.
- Disconnect the speaker connector.
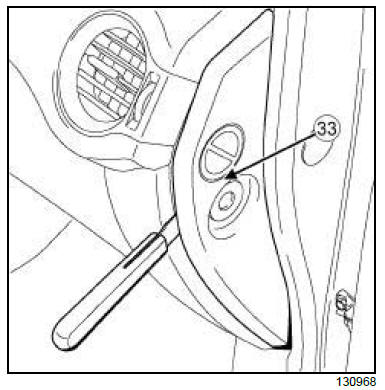
- Remove the side cover (33) .
- Disconnect the connector.
II - OPERATION FOR REMOVAL OF PART
CONCERNED
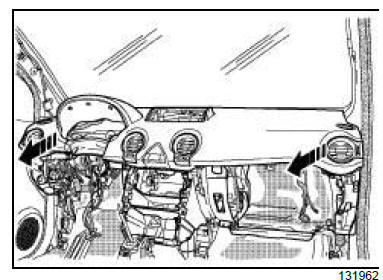
- Partially remove the dashboard (this operation requires
two people).
| Note:
Mark the position of the various front dashboard
wiring harnesses. |
- Remove the dashboard (this operation requires two
people).
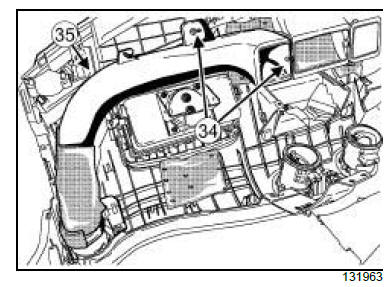
- Remove:
- the bolts (34) ,
- the air duct (35) .
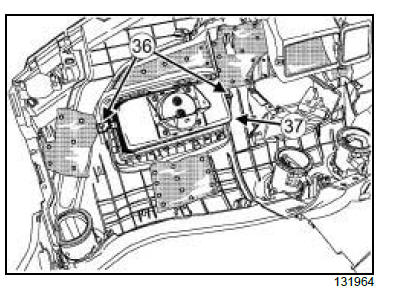
- Remove:
- the bolts (36) ,
- the passenger front airbag (37) .
REFITTING
I - REFITTING PREPARATION OPERATION
- Check that the wiring is in good condition.
- Refit:
- the passenger front airbag (37) ,
- the bolts (36) .
- Torque tighten the passenger front airbag bolts
(15 N.m).
- Refit:
- the air duct (35) ,
- the bolts (34) .
II - REFITTING OPERATION FOR PART
CONCERNED
- Refit:
- the various wiring harnesses on the dashboard,
- the dashboard (this operation requires two people),
- the dashboard bolts starting with the central bolts.
III - FINAL OPERATION.
- Refit the side cover (33) .
- Connect the connector.
- Refit:
- the speaker,
- the bolts (32) ,
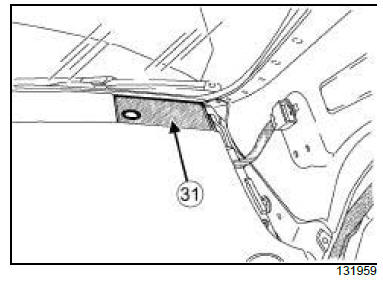
- the speaker cover (31) ,
- the bolt (30) ,
- the display,
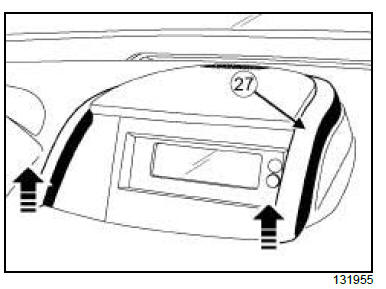
- the trim (27) ,
- the control panel,
- the air conditioning control panel,
- the radio (see Radio: Removal - Refitting) (86A,
Radio),
- the centre console (see 57A, Interior equipment,
Centre console: Removal - Refitting, page 57A-
15) ,
- the trim (24) ,
- the gear lever plate (20) ,
- the gear lever cover (17) ,
- the bolts (16) ,
- the trim ,
- the lower cover (15) ,
- the passenger airbag,
- the airbag bolts (11) ,
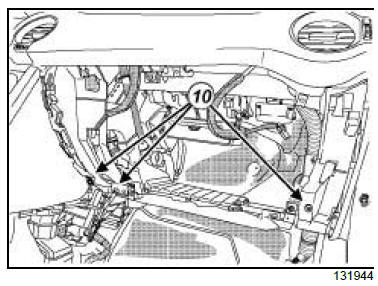
- the bolts (10) ,
- the navigation computer (see Navigation computer:
Removal - Refitting) (83C, On-board telematics
system),
- the glovebox (see 57A, Interior equipment,
Glovebox: Removal - Refitting, page 57A-14) ,
- the instrument panel (see Instrument panel: Removal
- Refitting) (83A, Instrument panel),
- the speaker,
- the bolts (9) ,
- the speaker cover (8) .
- Check that the wheels are set straight.
- Refit the rotary switch.
- Connect the connectors.
- Refit:
- the bolts,
- the steering wheel (see Steering wheel: Removal
- Refitting) (36A, Steering assembly),
- the bolts (7) ,
- the lower cover (6) ,
- the cab floor trim (5) ,
- the bolts (4) ,
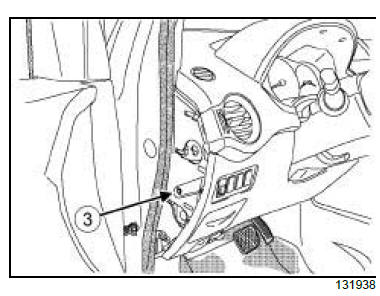
- the bolts (3) ,
- the side cover (2) ,
- the door sill lining (see Front door sill lining: Removal
- Refitting) (71A, Body internal trim),
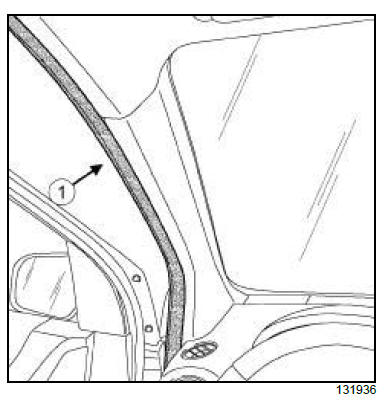
- the windscreen pillar trim (see Windscreen pillar
trim: Removal - Refitting) (71A, Body internal
trim),
- the seal (1) .
- Connect the battery (see Battery: Removal - Refitting)
(80A, Battery).
|


