Renault Koleos Service Repair Manual: Rear screen: Removal - Refitting
Renault Koleos Service Repair Manual / Mechanisms and accessories / Windows / Rear screen: Removal -
Refitting
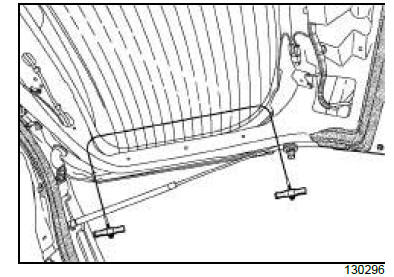
REMOVAL I - REMOVAL PREPARATION OPERATION
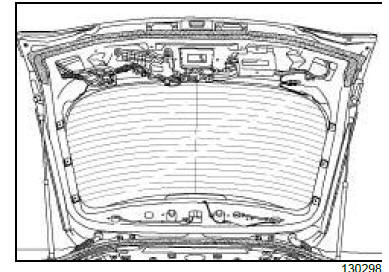
II - OPERATION FOR REMOVAL OF PART CONCERNED
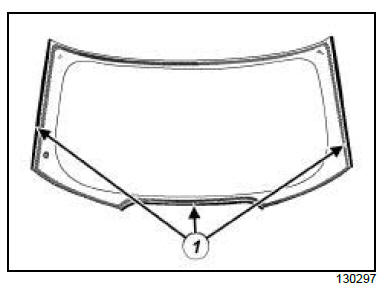
REFITTING I - REFITTING PREPARATIONS OPERATION
II - REFITTING OPERATION FOR PART CONCERNED
III - FINAL OPERATION.
|


See More:
Renault Koleos Service Repair Manual > Air bag and pretensioners: Front (chest-level) side
airbag: Removal - Refitting
The front (chest-level) side airbag is fitted to the backrest of each front seat on the door side. When it is deployed, the airbag tears the module cover and the foam and detaches the trim. IMPORTANT To avoid any risk of damaging the systems, apply the instructions relating to safety and cleanlines ...
Renault Koleos Owners Manual
- Getting to know your vehicle
- Driving
- Your comfort
- Maintenance
- Practical advice
- Technical specifications
Renault Koleos Service Repair Manual

© 2018-2026 Copyright www.rkoleos.com
0.0085